Welcome!!!

As my blog name suggests, this blog will be like a learning journal. I won't go step by step on each dessert on what to do, but instead focus on the technique(s) I was learning and what I discovered while in the process of making it. I hope you will learn a thing or two, or if anything, use this as a reference and get ideas for your dessert-making. Happy decorating!

Wednesday, August 31, 2011

Flower Power Cake

9" White and Funfetti round, Buttercream frosting

Techniques Used-basketweave, rope border, carnation, Wilton rose, swirl star flower, rosebud, vines

Focus-letting someone else design and try out some techniques

While visiting family, my sister wanted to decorate a cake.  I asked her to make a design and then we figured out the finer details.  It turned out pretty much how she designed it, except that we had to change out daffodils for yellow carnations.  On the sides, the front half has vines and little flowers.  The back half is just basketweave.

 It was neat to see how the cake developed.  We started off with making flowers.  The flowers were mainly done by me, but that was mostly because I messed up the batch of frosting, so it was harder to manage.  I put more butter than shortening, and there was more powdered sugar than needed.  Anyway, all it did really was make the frosting more sensitive to temperature than usual, and it was also stiffer than usual.  I also discovered that I don't like how the flowers look when using flower formers. I think the formers are more for apple blossoms and daisies. 

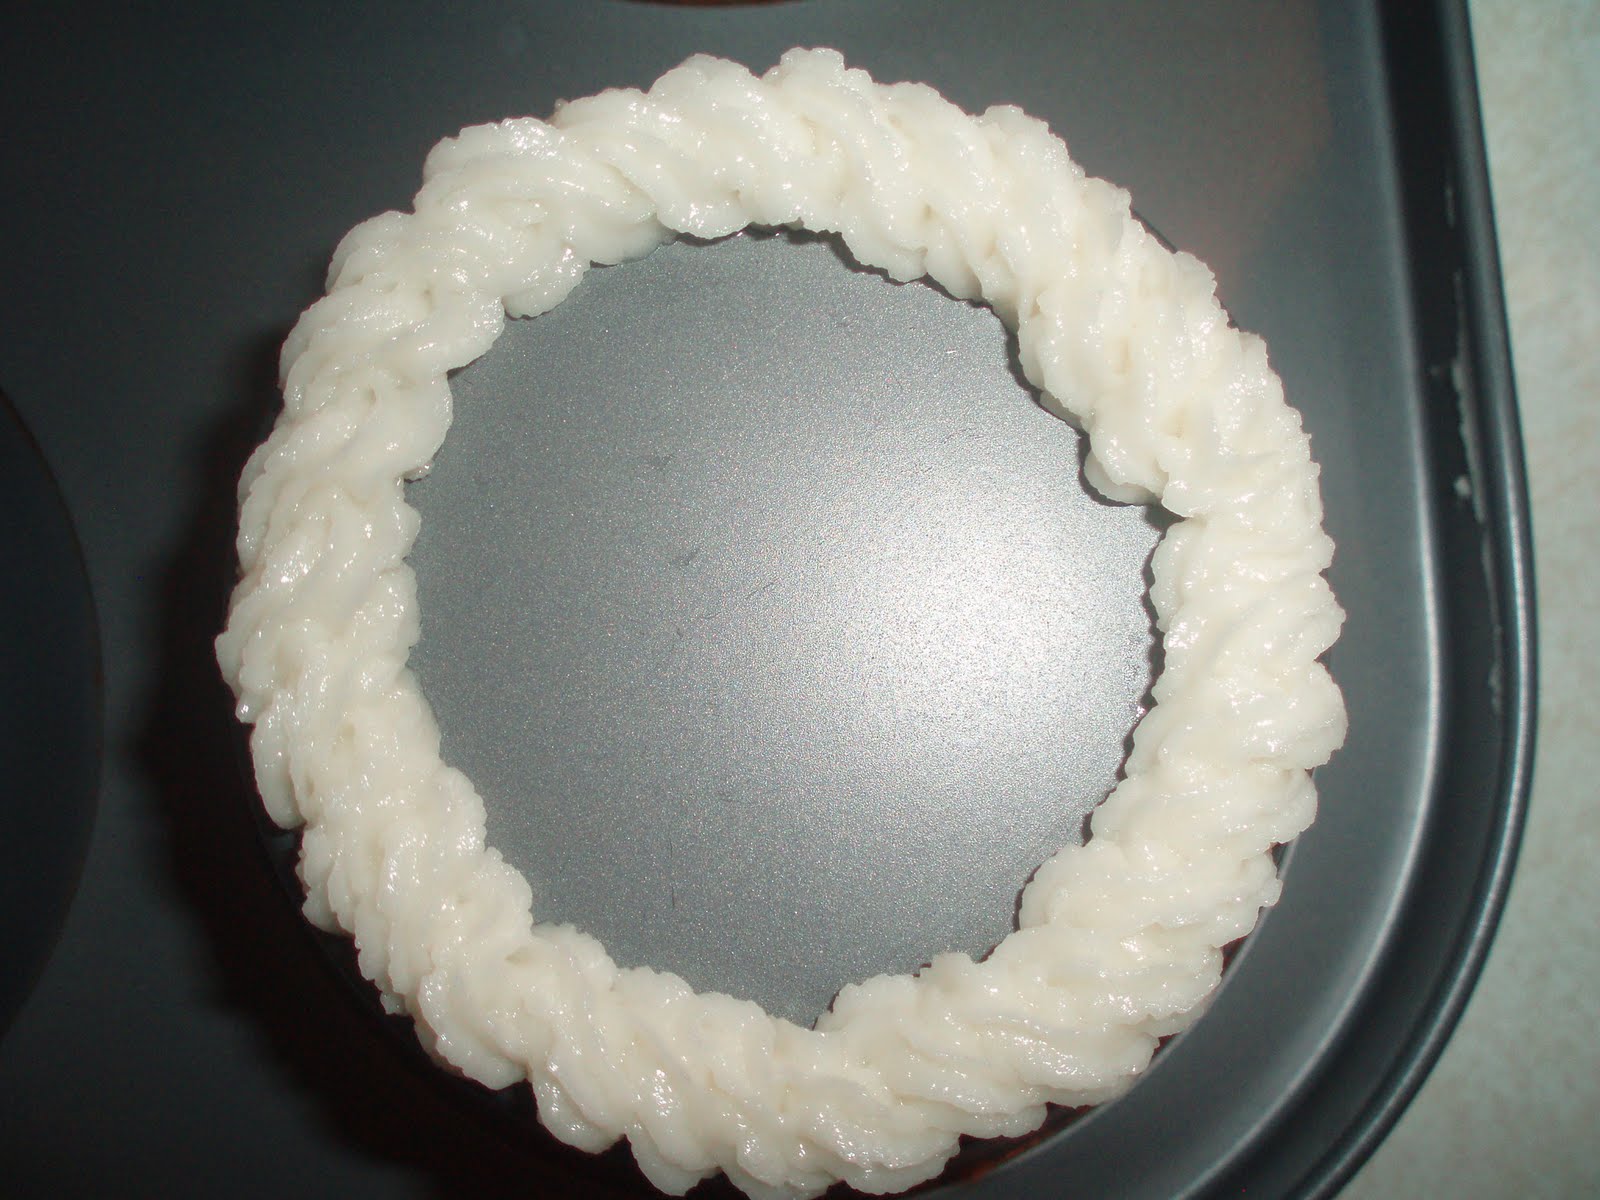
After the flowers, we prepared the cake for decorating.  Part of the design was to have the casually smooth top in the front.  Since an assortment of flowers would be towards the back, we didn't need to casually smooth the entire top.  My sister did the basketweave, and I think she did a pretty good job.

After that, my sister did a rope border on the top and bottom and then we assorted the flowers on top.  We went through a surprising number of batches of frosting.  I think altogether I made 12 cups.  All of it didn't end up on the cake, partly because the frosting was so good that other family members couldn't stop eating it, and it was also the plan to make cupcakes, but we didn't get that far.  What's funny is the rope borders are blue and purple because we ran out of white, so we thought we'd better use up some of the other frosting. 

Next in line was adding the vines.  Once those were in place, we added little pink rosebuds, blue swirl star flowers, and a couple yellow and purple carnations to the vines.  Then there were leaves and the cake was finished. 

This cake was decorated July 2011.

Monday, August 29, 2011

Wedding Cake Trial

6" white round cake, rolled buttercream frosting, buttercream frosting, raspberry filling

Techniques Used-balls, dots, quilting

Focus-working with rolled buttercream frosting

This is my very first wedding cake.  The bride wanted a cupcake tower with a 6" round on top.  I decided to do a trial cake because I was using rolled buttercream, something I haven't used before.  It is like fondant except using ingredients more like buttercream.  I haven't tasted a fondant frosting that I liked so this seemed like a great alternative to get the fondant look, but not the taste.  It's more oily than buttercream, but I put a little bit of powdered sugar on top to make it look less shiny.

I learned quite a few things while doing this cake.  Firstly, there needs to be a buttercream crumb coat on the sides.  This is so that the rolled buttercream will lay flat (if you look at the sides, you can see the buttercream dips in slightly where cake layers meet). 

Secondly, I need to figure out a better way to do the quilting technique.  As you see in this second picture, it looks different from the first picture.  The diamonds are bigger in this picture.  I thought I was going the same angle the entire time, but when I got to the end there was significantly more space left at the bottom than at the top.  I think I can fix this by looking at it at eye level instead of looking down.  Also, I will go more slowly so that I can change mistakes and have less to fix.

This cake was decorated August 2011.

Wedding Cupcake Trial


Thursday, August 11, 2011

Independence Day Treats

Rice Krispies treats cut with cookie cutters, buttercream frosting

Focus-having fun trying out different borders and techniques

I was itching to decorate something and I thought it would be fun to decorate rice krispies treats for Independence Day.  For one thing, rice krispies treats are easy to make and clean up, and they also can be cut with cookie cutters pretty easily.  I used plastic cookie cutters, but any kind will most likely work.  I wanted to try out a few different borders and things so I will list the techniques used with each picture.


Red, White and Blue Basketweave Star

Techniques Used-basketweave

There isn't much to say about the star except that I think it turned out nicely.  I would've used a star tip for the red if I had one available, but it still looks good using a round tip.  I didn't use a basketweave tip for this star.


Blue Firework and White Star

Techniques Used-star, dot, E-motion border

For the Fireworks, I used one tip only.  To get the different sizes of stars, I changed the pressure.  Next time, I will try to just do one size to see what effect that gives.  By the way, I think the cookie cutter shape may be called "Blue Ribbon."  It wasn't part of the Independence Day set.  For the star, I did an E-motion border in white and then added blue and red stars for color. 


Braided Star

Techniques Used-star, braid, Fleur de lis

This was the one I was most excited to try, the reason being that I wanted to try out the braid as a border.  I hadn't seen that in any of my decorating books, so thought it might not be a common border.  I'm glad with how it turned out.  The Fleur de lis is in the middle.   To make a Fleur de lis, you start with a shell down the middle.  Then you do a reverse shell on both sides of the shell.  Pretty simple, yet elegant. 


Reverse Shell and White Flower Star

Techniques Used-reverse shell border, star flower

I like the look of the reverse shell, but I think the hardest part for me is remembering which way to go.  I saw a YouTube video where the decorator was doing it really fast, and I thought I would try to do it fast too.  It didn't work out in certain areas, but she did an amazing job on her cake.


United States Flag, White Stars

Techniques Used-star, dot, writing, Fleur de lis

Next time, I think I will spread red frosting and then pipe white stripes.  These didn't turn out as well as I would've liked.  Part of it was that the rice krispies treats formed to the plate after, so the flagpole was originally straight.  Also, I was piping the red frosting the way I would for writing (slightly above the treat) when I needed to pipe directly onto the treat.  Live and learn, right?  The two white stars are just a bunch of stars and then dots on the corners. 


Cowboy boots, Red and Blue Stars

Techniques Used-piping, star, dot, shell

The cowboy boots were fun to do.  I learned from the flag that I needed to pipe closer to the treat than with writing.  Also, when I cut out the boots, I used the same cutter, but flipped it over to make the second shoe.  Both stars use shells.  The difference is that the red one uses two little shells for each point, while the blue one uses one. 


Braided Cowboy Hat, Blue Star, Fireworks

Techniques Used-braid border, star, zigzag/shell border, dot

I thought the braid would look good on a hat, plus I wanted to try the braid border again.  The blue star is something I thought I saw on a video, but I can't find the video anymore.  It's just a shell with a slight side-to-side movement.  I think it had a nice effect, adding texture to a simple star.


Another USA Flag, Rope Border Cowboy Hat

Techniques Used-rope border, star, writing, dot

I've already discussed how to make these, but I thought you would like a closer picture of these as well.  I think this flag looks much better, even with the bent flagpole.

These Rice Krispies Treats were decorated July 2011.