
All cakes-8" vanilla round cake, buttercream frosting
Cars-Rice Krispies treats, rolled buttercream frosting, buttercream frosting, food coloring, melting chocolate, Oreo cookies, skewers for supports
Techniques Used-rope border, shell border, reverse shell border, painting
Focus-the CARS!!!
My husband is cub master and last month was the pinewood derby. He asked me to do something that would feed 60 people. The first idea that popped into my mind was making car models, but have them stacked like they do in the Olympics-first place is tallest and in the middle, then second and third follow on the sides. I was going to make little trophies too, but we decided that it would probably be best if we just made car models, like you would see in a car show or dealership. We didn't want the winners to think the prize was the car and/or the cake!
While I was working on smoothing the cakes, my husband worked on shaping the cars with Rice Krispies treats. Then he smoothed a thin layer of buttercream frosting to smooth out the Krispies and put them in the fridge, to let the buttercream harden a little before putting on the layer of rolled buttercream.
My husband had to go to work so I took over. I wanted the cars to have stripes, so I rolled out some of the left-over rolled buttercream, cut it into strips, and then placed them on the cars. I then watered down a little bit of the food color gel and started painting. Once I finished painting, I would then take off the strips and put them in the fridge. The only complaint I had with this method was that the color never seemed to dry, so if they touched each other, the colors would rub off on each other. With the little bit of rolled buttercream left-over, I think I will try kneading the color into it and see if the same thing occurs.
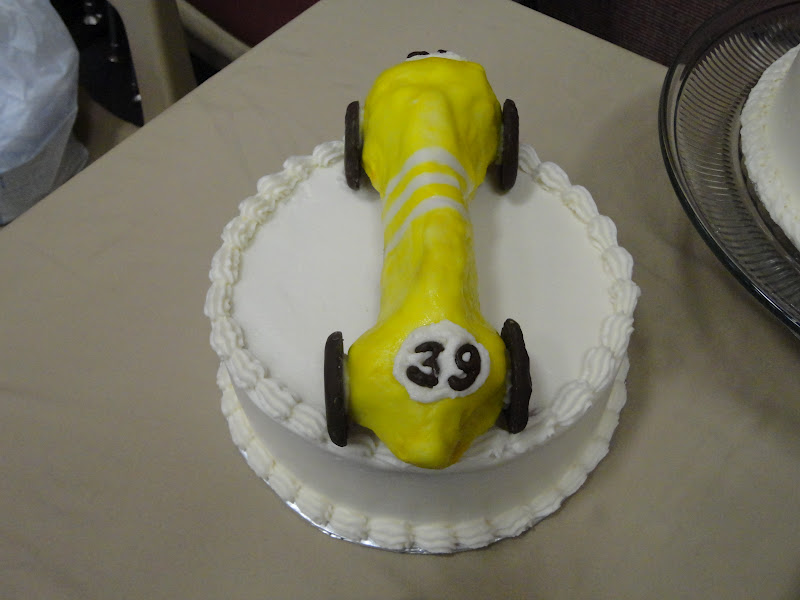
Here are close-ups of each of the different cars:


As I mentioned before, the focus was on the cars, but I also had some borders that I wanted to focus on. I wanted to see if I could do the reverse shell border as fast as the decorator in this video. I'm happy to say that it was quite a success, although I think the other cake decorator still would pipe circles around me : ). I wanted to show a close-up view of the border because I was so proud of how it turned out.


I also focused on the rope border. Usually, top borders sit on top of the cake, and I think this border looks so much better coming from the side and ending on the top. I don't know if you can tell with this picture, but the effect I was looking for worked. I didn't really have a focus for the last cake, so it was mainly trying to make the shell look uniform (see yellow car pictures above).

The numbers were made from melting chocolate. I strongly advise that you make extra numbers just in case they break. Also, make sure that the numbers have some thickness to them or they will be more prone to break or melt in your hand. What I did was trace the number on top of itself 2-4 times so it was at least 1/8" thick. You don't want your numbers to be really flat. This would work for thick or thin fonts. One more thing, when choosing a font, rounder fonts are better than pointy or sharp edged fonts. The wheels were Oreo Fudge Cremes cookies. I was planning on getting chocolate filled Oreo cookies, but they didn't have them, so I used these ones instead. Any chocolate cookie would work though.
These cakes were decorated March 2012.


